When a new motorcycle is released, our first port of call is researching images to get an idea of what panels will need protecting. This is followed up with a call to one of our local dealers to arrange the initial tracings. In this case it’s the North West Honda Super Centre at Blackpool.
They had just received their Honda NT1100 demonstrator motorcycle and arranged for us to visit.
Our designer packed the car with trace film, scissors, marker pens, wipes, and a folder to keep the tracings flat and separated. We request the bike is brought inside when working on it, to avoid the Great British weather, which is regularly wet and windy (especially at Blackpool). This plays havoc with trying to fit the trace to large panels.
When tracing, we usually do it in the order the pieces are to be fitted, starting from the front of the bike, from the mudguard, to the nose, fairings, then seat/tail panels. Each panel is hand drawn. We also look where we can split a large piece if needed for ease of fitting when tracing, while still making sure it looks right. For example, on the Triumph Speed Triple 1200 RR, the nose piece is not only large, but curves in different directions, there is a crease along the front which makes for a natural break line. This makes it easier to apply while still following the lines of the bike.
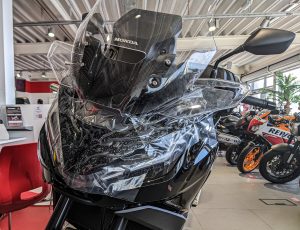
Once the panels are traced, they are stored in the folder for the trip back to the office. Once back, the tracings are scanned and drawn up on the computer in Adobe Illustrator. As long as the panels are the same each side of the bike, we draw up half the bike for the test kit. If they are different, these will also be created. The test kit is then nested and sent down to the plotter.
Our plotter cuts out the pieces from our Paint Protection Film. The excess is removed from around the pieces, it’s packed up and a follow up visit to the dealer is arranged to test the kit.
The designer will switch to her fitting kit for this visit with her solution, squeegee, and placement notes. The test kit is fitted to the bike and if any amends are needed to the Paint Protection pieces, these are noted and the pieces are retraced. The process then restarts from scanning the pieces and drawing in Illustrator, cutting on the plotter and retesting at the dealership.


Once everything fits, the Kit is signed off and listed for sale on our website and sent to our approved dealers. We usually offer the dealership a free kit as a thank you, which they put on their demonstrator motorcycle to protect it on test rides. Here are some photos of the Kit fitted…


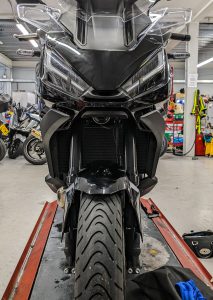
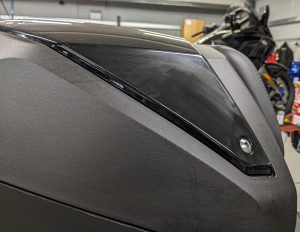
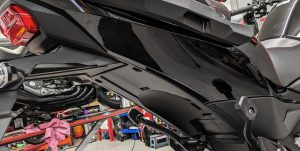
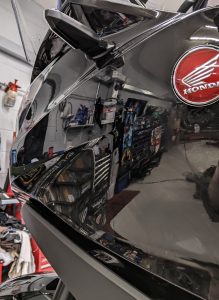

To see a walkaround video of our Eazi-Grip Paint Protection Kit on the NT1100 click here
To get an Eazi-Grip motorcycle Paint Protection Kit for your motorcycle, please visit https://www.eazi-grip.com/cat/eazi-guard/
If we don’t have your bike, let us know. If it’s a new model it’s probably already on our list.
© 2024 Eazi-Grip All Rights Reserved
Website Designed & Built by Stone Create